PROJECT ROADMAP
The Barndominium Planning Timeline — Where Renderings Fit In
A barndominium build moves through distinct phases. Knowing exactly when to use 3D renderings ensures better decisions, fewer revisions, and smoother coordination between homeowners and builders.
Phase 1
Concept & Land Selection
Explore ideas, define must-haves, and evaluate your lot’s orientation, setbacks, and utilities. Renderings at this stage are conceptual—useful for early visioning, not final decisions.
Phase 2
Plan Selection & Design
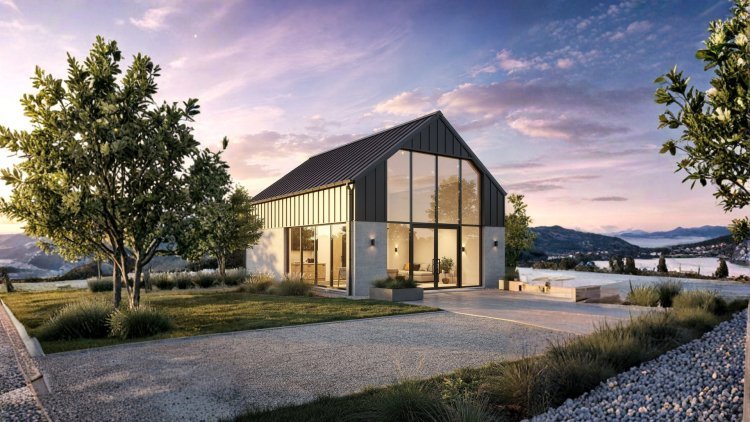
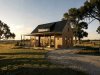
This is the prime stage for 3D renderings. Once a floor plan is selected from a trusted source like Barndo Plans, visuals bring interiors and exteriors to life before construction begins.
Phase 3
Permitting & Contractor Bids
Renderings support permit submissions in many US counties and help contractors estimate costs more accurately. Clear visuals reduce miscommunication and prevent expensive change orders.
Phase 4
Construction
Approved renderings act as a visual reference on-site, keeping framers, electricians, and finishers aligned with the original design intent throughout the build process.
TIMING STRATEGY GUIDE
Why Timing Your Renderings Correctly Saves Time & Frustration
The value of a 3D rendering depends heavily on when it’s created in your planning process. Too early or too late both lead to avoidable costs, revisions, and frustration.
Rendering Too Early
When renderings are created before floor plans and lot details are finalized, they quickly become outdated. Any design change leads to expensive rework, making early-stage renderings more conceptual than practical.
Rendering Too Late
Waiting until construction begins removes the opportunity for meaningful changes. Adjustments to rooflines, windows, or materials become expensive on-site corrections instead of simple design refinements.
Industry Tip
In many US states, exterior renderings can strengthen permit applications — especially in HOA-regulated communities or counties with architectural review boards.
Key Rendering Decision Points
- Floor plan is finalized and dimensionally confirmed
- Lot orientation and setbacks are established
- Exterior material choices are narrowed down
- Builder or general contractor is being selected
- HOA or county design review is required
- Financing or construction loan application is in progress
STAKEHOLDER ALIGNMENT
How 3D Renderings Support Every Stakeholder on Your Project
A well-timed 3D rendering is more than a visual—it’s a coordination tool that aligns homeowners, builders, lenders, and permitting authorities across every stage of your barndominium project.
Homeowners
Visualize your finished barndominium before committing to exterior colors, window styles, or porch layouts. Prevent costly “I didn’t realize it would look like that” decisions after construction begins.
Builders & Contractors
Clear visual references reduce ambiguity in bids and execution. Contractors can accurately understand scope, resulting in better pricing and fewer on-site clarifications.
Lenders & Appraisers
Professional renderings strengthen construction loan applications by clearly communicating project intent. When paired with a reliable floor plan source like Barndo Plans, they enhance financial credibility.
Permitting Authorities
In many US jurisdictions, renderings help demonstrate design intent and compliance with local aesthetic or zoning standards. This can streamline review and reduce back-and-forth during approval.
EXECUTION TIMELINE
Actionable Steps: Building Renderings Into Your Timeline the Right Way
Proper timing and sequencing of 3D renderings can significantly improve accuracy, reduce revisions, and strengthen every stage of your barndominium build—from planning to construction.
01
Start With a Professional Floor Plan
Lock in a professionally designed barndominium floor plan first. Providers like Barndo Plans ensure your renderer works from accurate geometry aligned with US zoning, climate, and lifestyle needs.
02
Confirm Site Conditions First
Verify lot orientation, setbacks, and topography before rendering begins. Incorrect site assumptions lead to avoidable redesigns and costly revisions later in the process.
03
Render Before You Bid, Not After
Share renderings with multiple contractors during the bidding phase. Clear visuals lead to more accurate pricing and significantly fewer change orders during construction.
04
Use Renderings Throughout Construction
Display key renderings on-site as a visual reference for builders and subcontractors. This reduces miscommunication and keeps all trades aligned with the intended design.
Best Timing Window
The ideal time to create a 3D rendering is immediately after your floor plan is finalized—before permits, bids, and construction begin. This is where visualizations deliver maximum value.